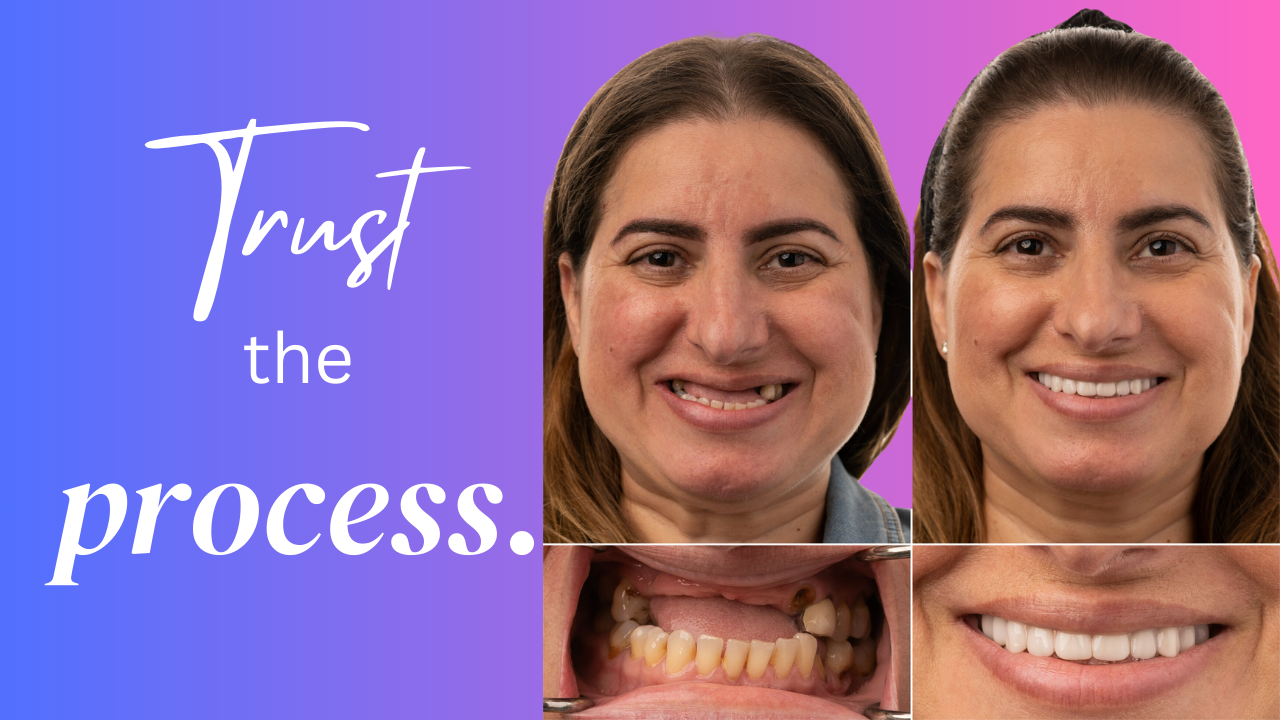
Our 7 Step Process for Your Incredible New Smile
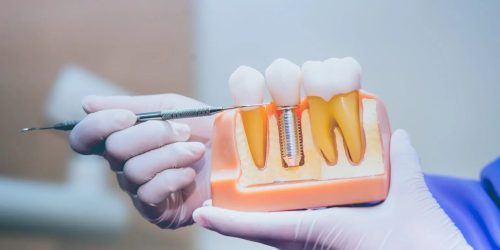
Often, the scariest part of going through any dental treatment is not knowing what to expect. Different procedures have different steps, and different patients can have different steps for the same procedure. I’ll spend some time today going through one of our most common treatments, the All on Four. This is a term originally coined by the implant company Nobel Biocare. It refers to replacing a full upper or lower set of teeth using four implants with a full “arch” of teeth all connected together as one piece. It goes by many other names, and now when people refer to it, they typically mean at least 4 implants, but it includes more if necessary. Some of the other names are All on X, hybrids, full mouth bridges, full mouth implants, permanent implant teeth, full arch, implant bridges, screw in teeth, and the list goes on and on. They are all referring to the same procedure. We even renamed it for our office to help simplify things. We call it Dreamline. Our “Dreamline” package includes: all extractions, implants (usually 4-7), bone grafting during surgery, gum grafting during surgery, temporary teeth, and final teeth. We also list the current price on the homepage of our website.
I’ll go through the steps that we take at our office, and I’ll write in the context of you being a patient here. The info in this article can be applied at most offices doing this treatment, though! Our process gets great results consistently and efficiently. There are other ways to do it that work great, so if you go somewhere and their process seems different, don’t be alarmed. In a typical scenario, our All on X patients will have up to 7 appointments. Initially, this sounds like a lot, but allow me to explain. It isn’t complicated and some of the visits are quick checkups.
The Process
- Consultation – This appointment is completely free. This is an opportunity for you to meet the staff and myself, and get a feel for our office. We’ll take a complimentary full mouth 2D and 3D x-ray. I’ll then perform an exam and talk with you about your needs, goals, and how we can achieve that. We’ll go over the implant process, and I’ll answer any questions or concerns you may have. After you feel comfortable and have all of the information you need, we’ll make a written treatment plan for you. While you are in the room for this exam, our staff will verify your insurance benefits. This means we’ll have a good idea of how much your insurance may contribute, but this is never a guarantee, even if they tell us a specific number over the phone.
- You’ll then meet with one of our staff members to go over the plan. They will go over cost, how we split up payments, financing options, treatment timeline, and any other questions you may have. I have found that doing the consultation in these two steps ensures that our patients leave with the most information possible so that they can make an informed decision on what will be best for them.
- Preoperative Records – At this point, you’ve decided to move forward with All on X treatment. Payment details have been figured out, and now it’s time to focus on creating a new custom smile for you. This appointment is extremely important on my end, because it is the planning appointment. “Failing to plan is planning to fail” certainly holds true for this treatment. We take scans of your mouth, adjust your bite, take pictures, and discuss things with you to get the most accurate new tooth position for you. There are no painful shots (Woohoo!) or other uncomfortable things at this appointment. It only involves gathering information. We also go over what to expect for the surgery appointment.
- Surgery Day – It’s the big day. Teeth are removed and implants are put in. All of our patients get either an anxiety pill or IV sedation. Your surgery usually takes most of the morning, so I tell everyone to plan to be here until lunch time. After we are done, we send you home for the day. This gives the lab plenty of time to make the teeth so they are not rushed and minimize mistakes.
- 24 Hr Teeth Delivery – Typically we will attach the teeth to the implants the next day. There are scenarios where we can do it the same day, but it is typically better to do it the next day. You’ll be a bit sore and swollen on this day, but it’s not an issue for attaching the teeth. We’ll get you in and out as quickly as possible!
- Healing Check Up – Two weeks after surgery I’ll see you for a two week check up. It is normally a quick x-ray and exam to make sure everything is progressing normally. It is rare that anything needs to be done. It usually takes less than 15 minutes.
- 3 Month Check up/Final Records – Your implants are finally healed! At this appointment we’ll take more scans and pictures, discuss any changes you would like such as different shaped teeth or a different color, and we’ll check all of the implants to make sure they have healed properly. Roughly 4 weeks after this we will have your final zirconia teeth ready.
- Final Delivery – The moment you have been waiting for…You get your final teeth!
In Conclusion…
These are the basic steps we follow for 90%+ of our cases. It seems like a lot at first glance, but steps 1-4 usually take place within about the span of a week (it can be longer if you need). The best part is, you’ll have teeth the whole time!
All advice is my opinion and you should seek professional medical advice from your physician before taking any action.
– Blake Vidrine, DDS